

Prerequisites
Before you begin, ensure you have:- A Zero Runtime Auth token or API key + secret from app.zeroruntime.ai (see Authentication).
- Python 3.11 or higher, or Node.js 20.11 or higher.
Understanding the Architecture
Before diving into implementation, choose the pipeline architecture that fits your use case.- Cascade
- Realtime
Cascade processes audio through distinct stages for maximum control:

Build the Agent
Pick your language. Each track builds the same agent on the Cascade pipeline (Deepgram STT → Google Gemini LLM → Cartesia TTS).- Python
- Node JS
Setup the project
Use Python 3.11 or higher, then install the Zero Runtime Agents SDK. Create and activate a virtual environment, then install
zeroruntime. Every provider plugin ships with it.- Cascade
- Realtime
Configure environment variables
Store API keys and tokens in a
.env file in your project root.- Cascade
- Realtime
.env
Create the pipeline and agent
Build the pipeline first, then create the agent that uses it. The
Pipeline auto-detects its mode from the components you pass it: provide STT, LLM, and TTS for Cascade, or a single realtime model for Realtime. Define it at module scope so the agent class can reference it directly. The agent inherits from the base Agent class, the same for both pipelines. Only the pipeline setup and imports differ. instructions defines the agent’s personality, on_enter() runs when it joins the room, and on_exit() runs when it leaves.- Cascade
- Realtime
main.py
Start the session
With the pipeline and agent defined, hand the agent class to
zeroruntime.serve(...). This wiring is the same for both pipelines.Python
serve() registers the agent under its agent id and blocks, starting a fresh session for each caller. Passing the MyVoiceAgent class itself (not a pre-built instance) lets serve() construct a fresh agent + pipeline per call, which is required for correct per-call state under concurrent calls. on_ready=invoke_agent fires zeroruntime.invoke(...) once the agent is registered, which resolves a room and returns a playground URL to open the session.Run the project
With your
.env configured and dependencies installed, run the project with Python.- Playground
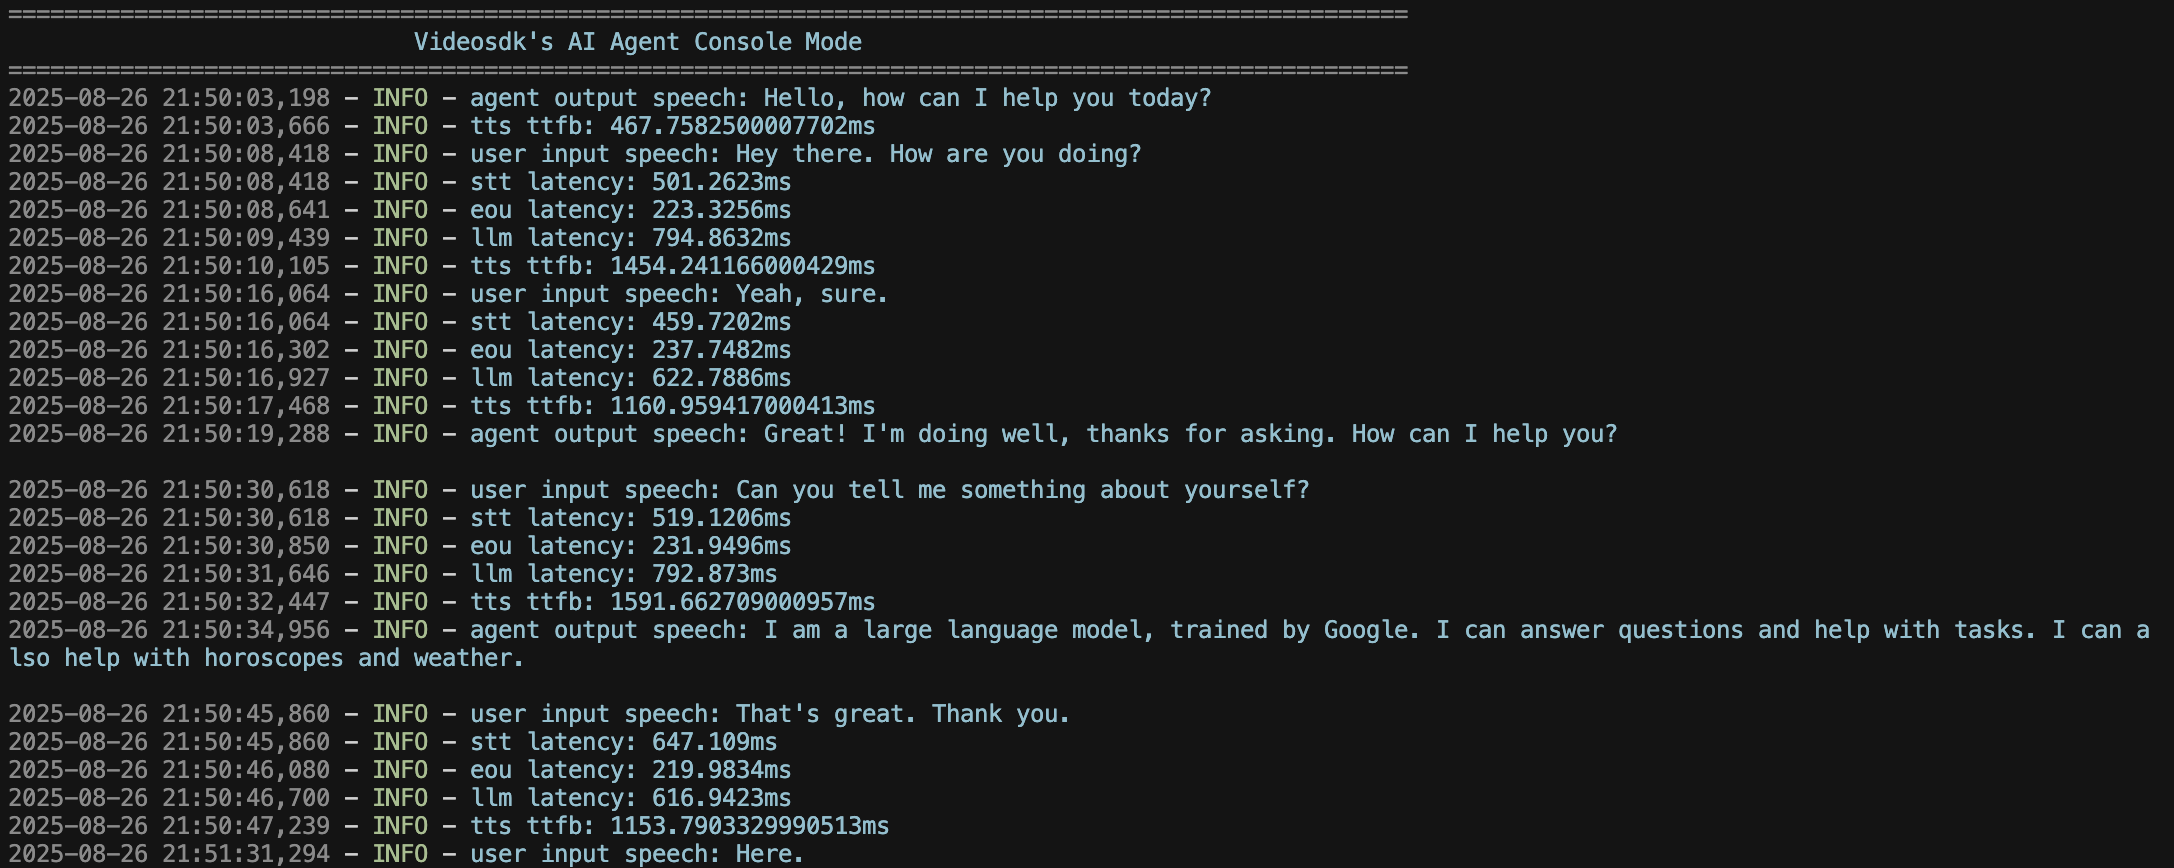
- Console mode
Once you run this command, a playground URL appears in your terminal. Use this URL to interact with your AI agent.
Verify
- The agent connects to the room and greets you.
- Audio flows both ways: the agent hears you and you hear it.
- In Cascade mode, the LLM’s responses are spoken back through TTS; in Realtime mode, the model streams speech directly.
Troubleshooting
Common issues when setting up the project:No interpreter found for Python 3.11
No interpreter found for Python 3.11
Make sure Python 3.11 is installed, then create the virtual environment with it.
RuntimeError: There is no current event loop
RuntimeError: There is no current event loop
Newer Python versions (3.13+) removed the implicit event loop. Create your virtual environment with Python 3.11.
ERR_REQUIRE_ESM or Cannot use import statement outside a module
ERR_REQUIRE_ESM or Cannot use import statement outside a module
The SDK is ESM-only. Add
"type": "module" to your package.json, or use a .mts entrypoint.ModuleNotFoundError when running main.py
ModuleNotFoundError when running main.py
You’re running a Python outside the project’s virtual environment. Activate it first, then install the dependencies.
What’s Next
Add tools to an agent
Let your agent call functions and act.
Pipelines
Understand the STT, LLM, and TTS flow.