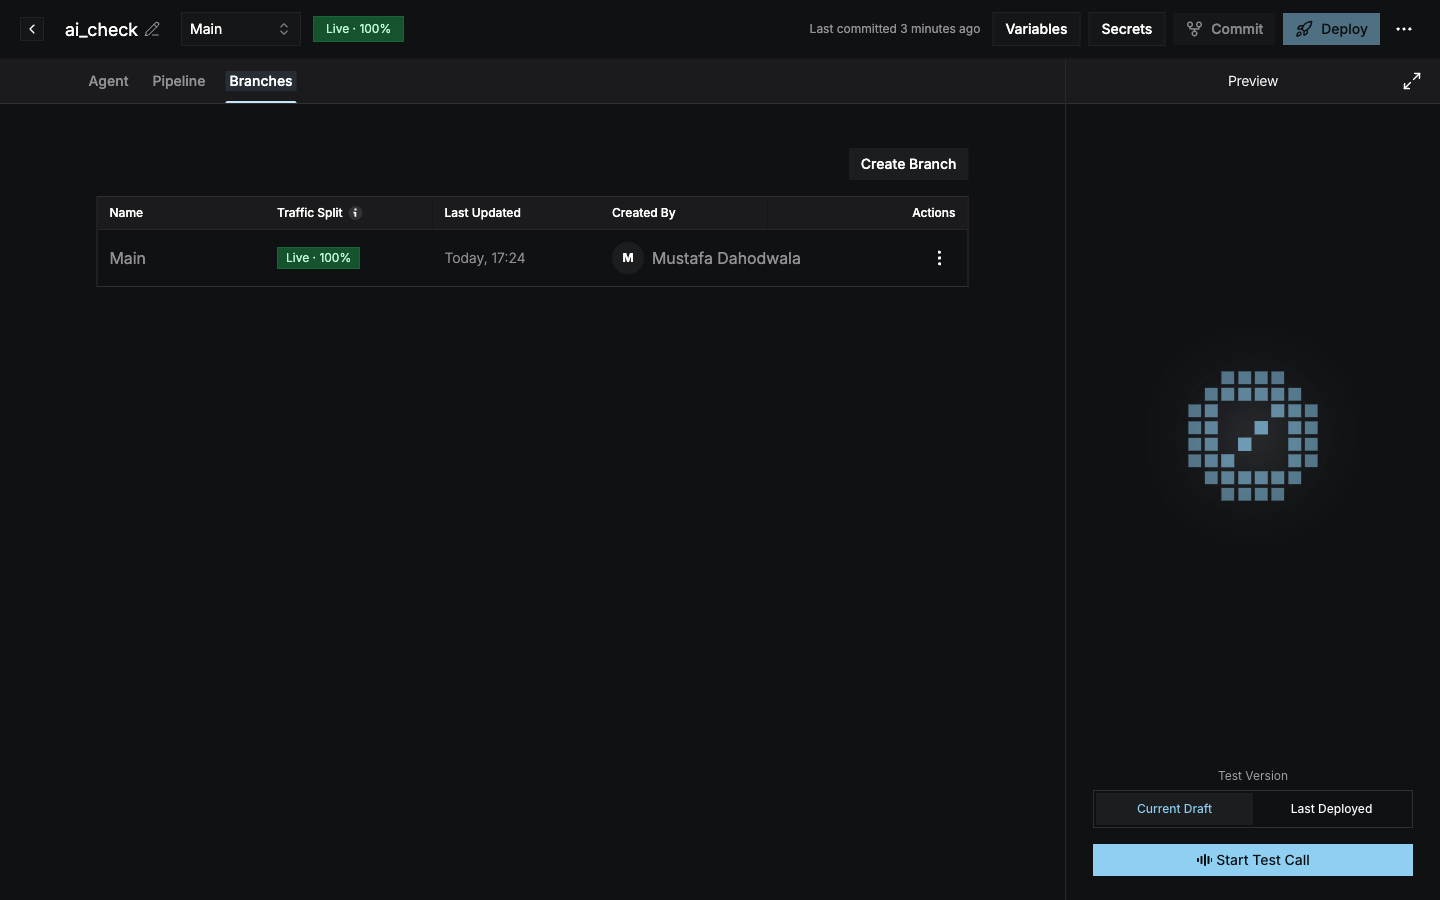
Branches let you work on changes, like a new voice or a different prompt, without touching the configuration that’s live. Every agent starts with a Main branch. Open the Branches tab to see every branch with its traffic split, last update, and creator.
Branches tab showing the Main branch with Live · 100% traffic and a row actions menu

Create a branch

1

Start the branch

Select Create Branch on the Branches tab, or from the branch selector in the header.
2

Name it

Enter a Branch Name (for example Shorter welcome message) and an optional Description.
3

Create

Select Create Branch. The new branch starts with the configuration of the branch you currently have selected, and the builder switches to it.
Use the branch selector in the header to switch between branches. Each branch has its own draft and commits.

Split traffic between branches

A deployment can serve several branches at once, for example for an A/B test. The Traffic Split column and the Live · N% badge in the header show each branch’s share of live calls. A branch with no traffic shows Not deployed.
  • To send traffic to an undeployed branch, select Deploy on its row.
  • To change percentages, select Edit Deployment from a branch’s ⋮ menu.
See Branch traffic split for the rules.

Merge into Main

When a branch is ready, select Merge into Main from its ⋮ menu. Review the diff between Main (Current) and your branch (Incoming), then confirm.
Merging replaces Main’s configuration with the branch’s configuration. It doesn’t combine them. The merged branch is then archived.

Branch actions